强悍歌乐CX609A无损改装拆车免剪线对接全过程,影音改装实例

This image has been resized. Click this bar to view the full image.
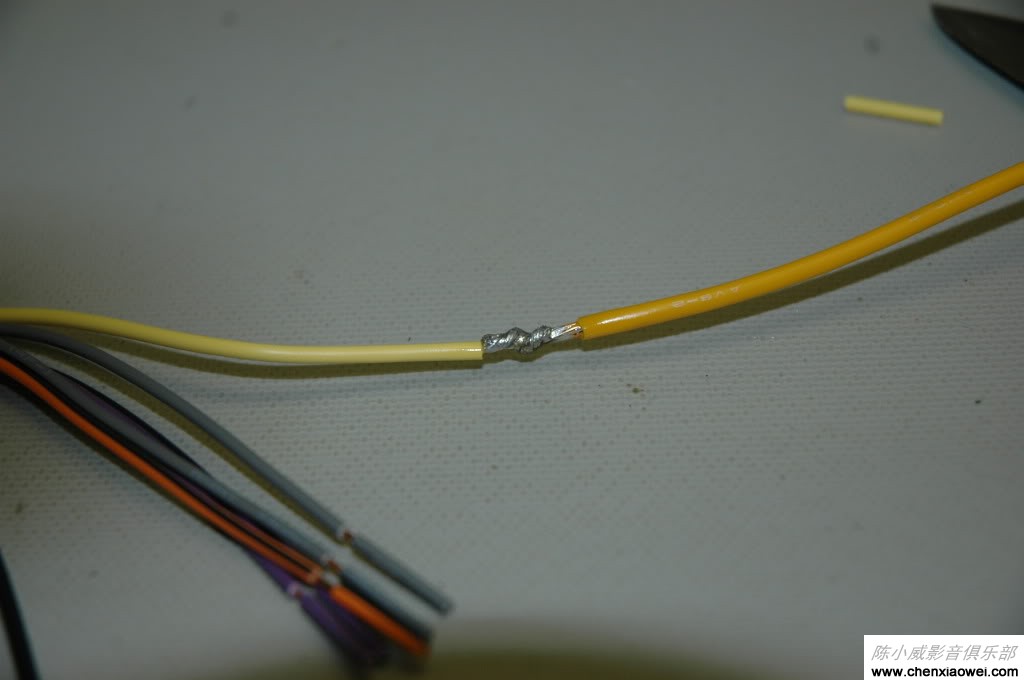
These are the wires soldered together:
This image has been resized. Click this bar to view the full image.
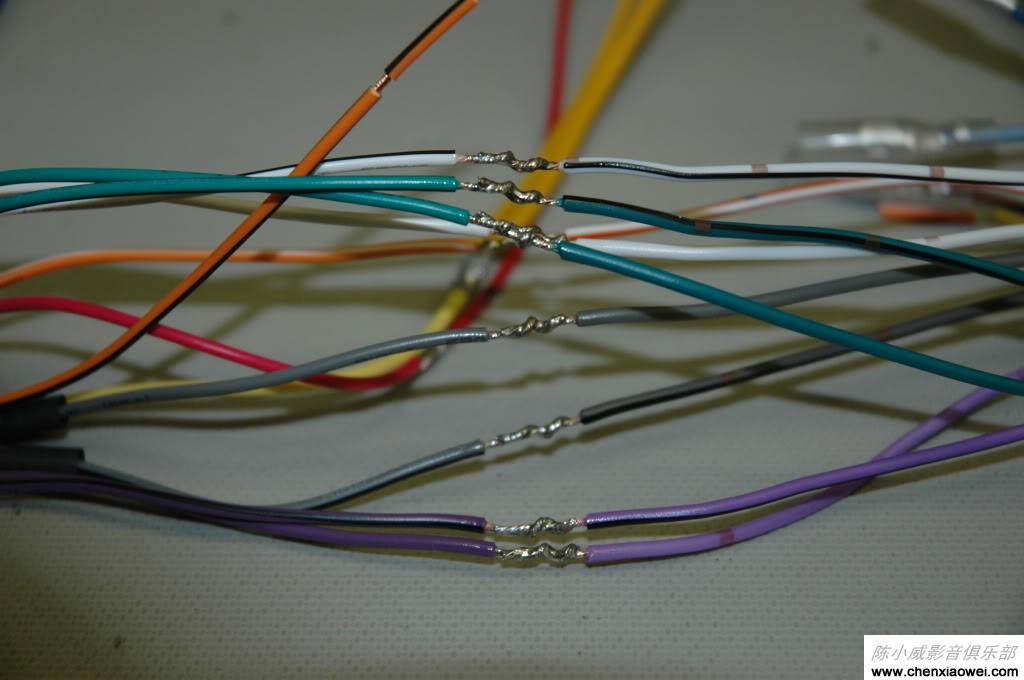
These are the rest of the wires soldered together:
This image has been resized. Click this bar to view the full image.
These are the wires with heat shrink:
This image has been resized. Click this bar to view the full image.
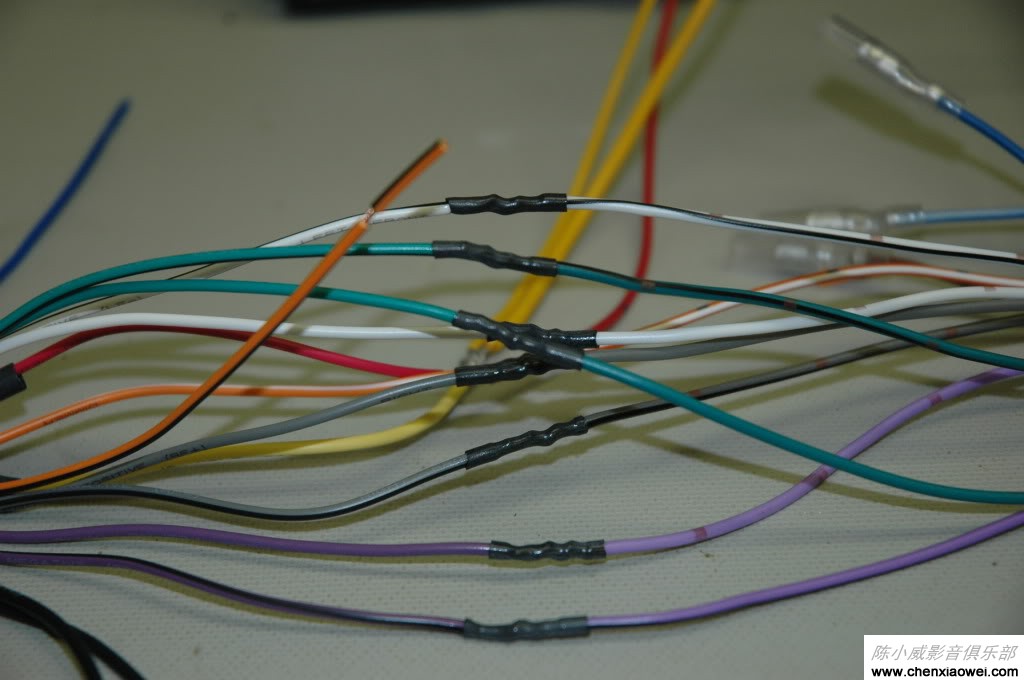
This is all the wires with heat shrink and the harness laid out:
This image has been resized. Click this bar to view the full image.
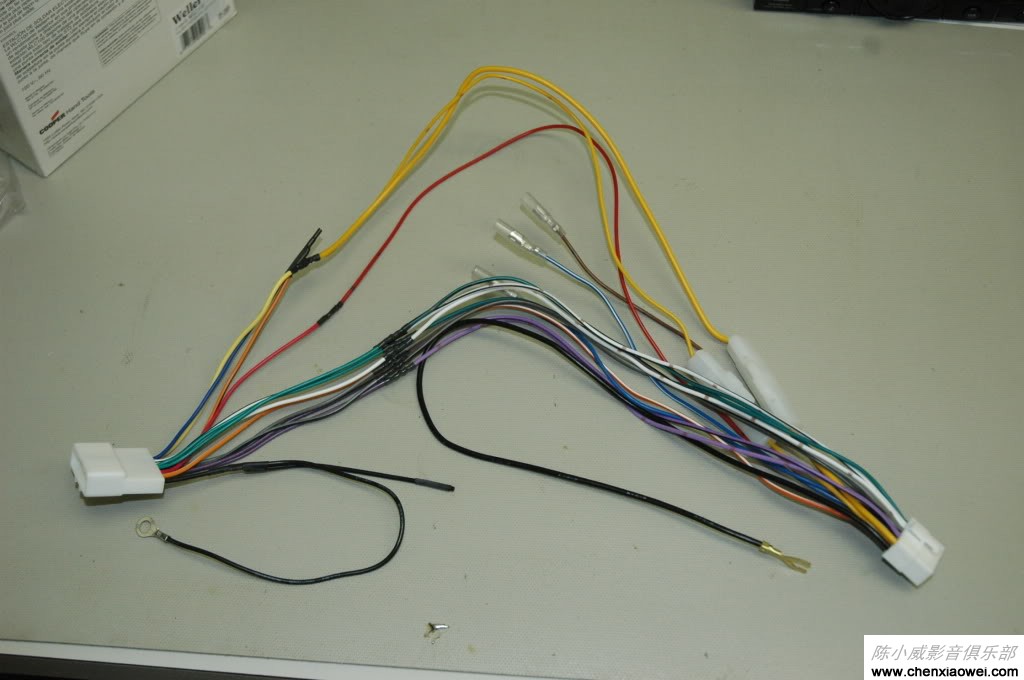
I wanted the wires to be neat and at the same time keep them from splaying out when installing them. You will notice the I did not tiewrap the two power wires as I wanted to be able to change fuses if necessary without cutting the ties on the rest of the harness. Also, some of the wires were quite a bit longer than the others. If you look at the left side of the pic you will see where I doubled over the wires:
This image has been resized. Click this bar to view the full image.

I will start a new post for the install pics.
Here is the install.
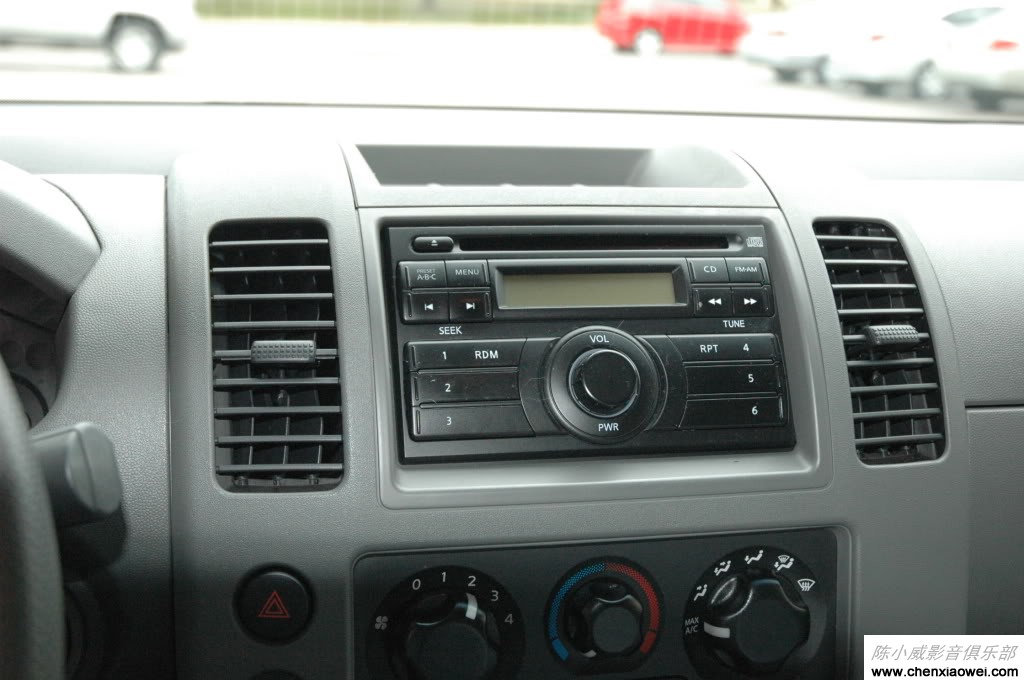
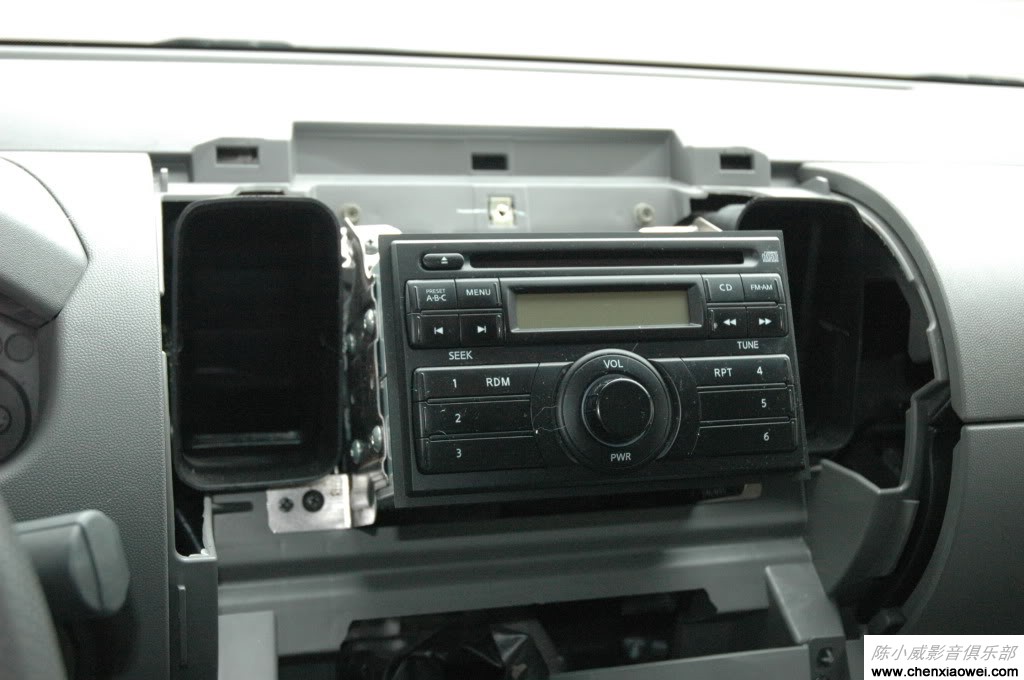
This is the stock unit:
This image has been resized. Click this bar to view the full image.
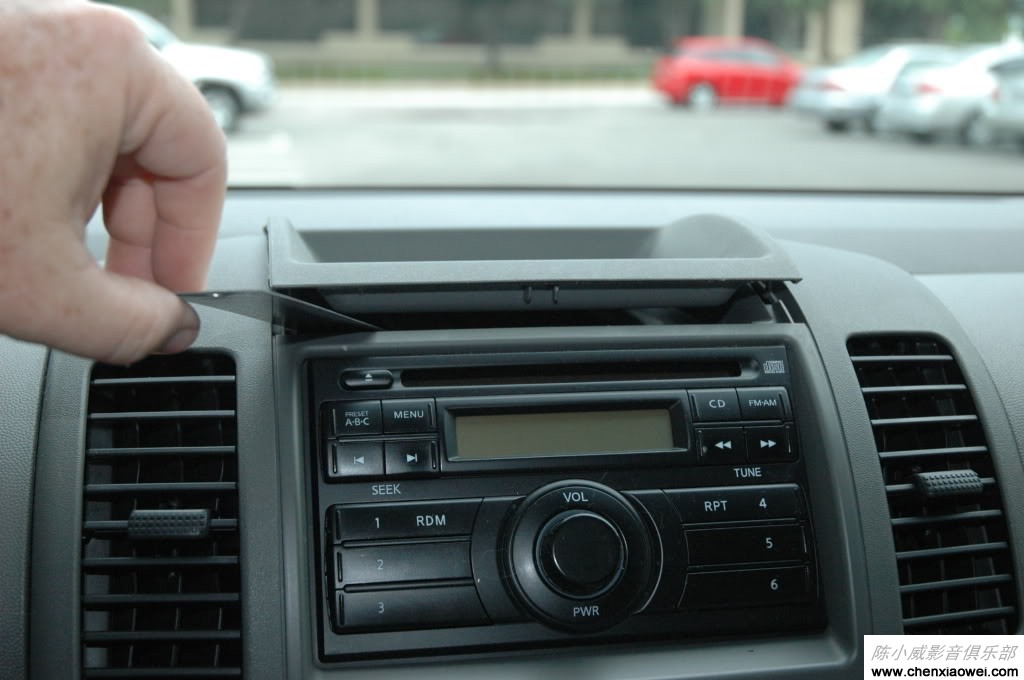
I am removing the top cover. I had a wide flat stainless steel ruler that I used. It worked fine:
This image has been resized. Click this bar to view the full image.
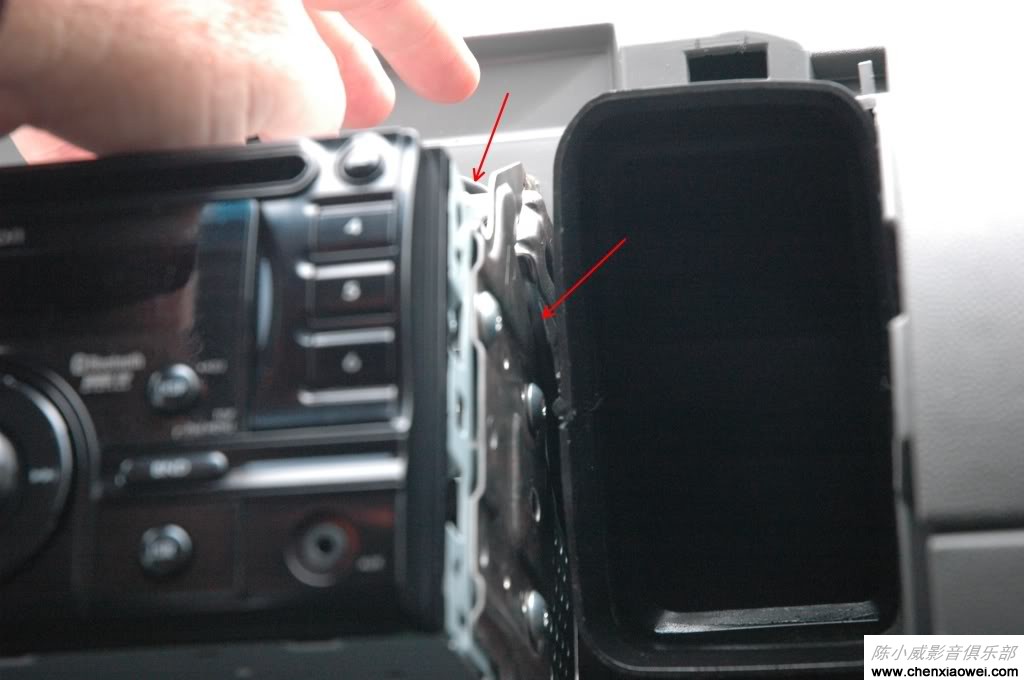
The front panel removed. After removing the top panel and screw I grabbed the front edge where the top panel sat and began pulling from there. After I swung it out a few inches then I grabbed the bottom of the panel and pulled it out. Then I just laid it flat and did not remove any connectors. You can see the two screws on the left side holding the bracket on. The other two are on the exact opposite side:
This image has been resized. Click this bar to view the full image.
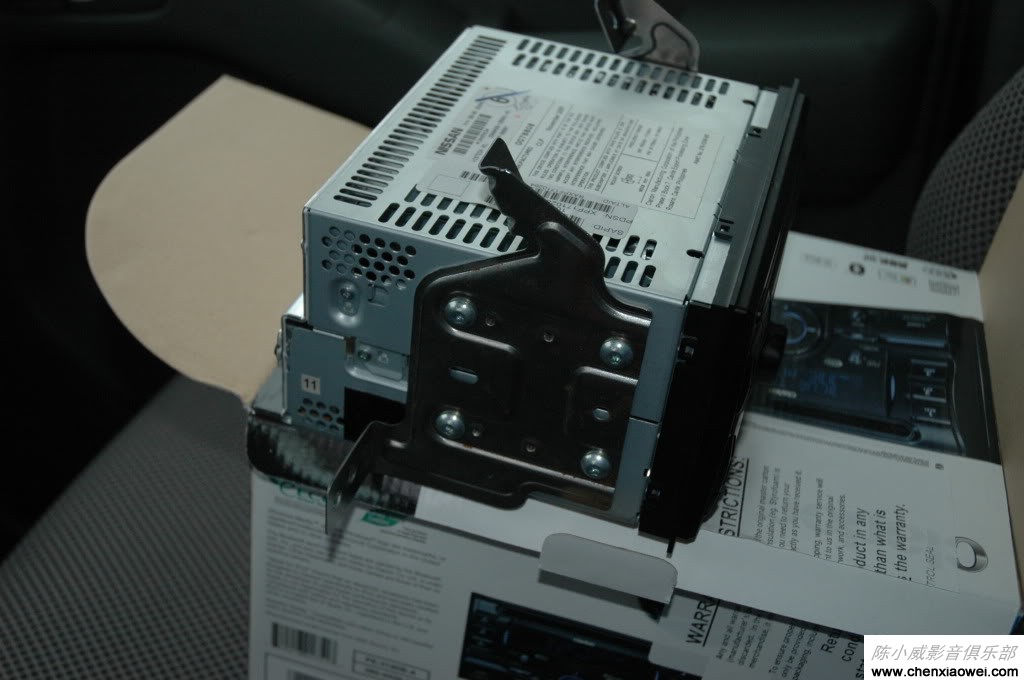
Here is the old unit removed. You can see the four screws holding the bracket to the stereo (four more on the other side). One thing I didn't know was that I needed a T-20 Torx bit to remove them. I drove over to Autozone at this point to buy one and finished installing in the parking lot:
This image has been resized. Click this bar to view the full image.
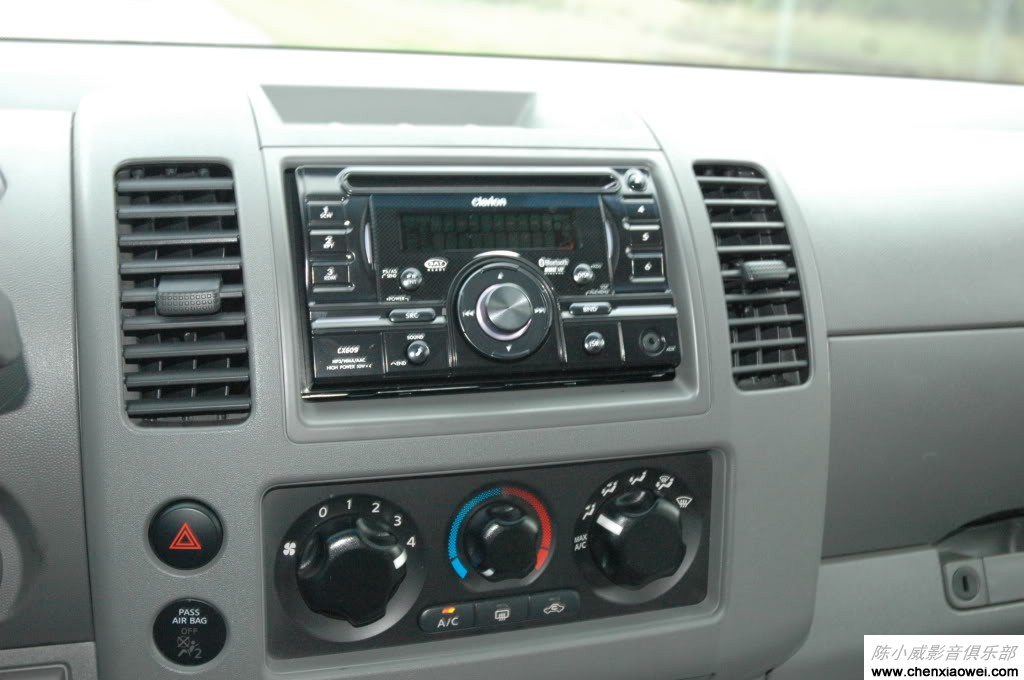
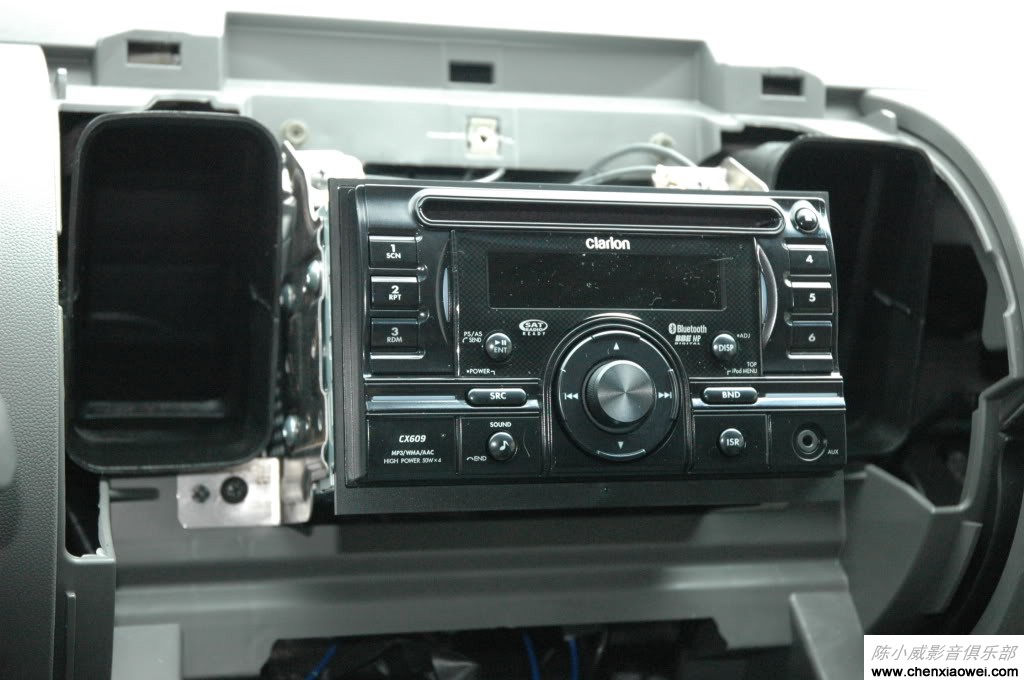
This was the new stereo installed. One thing I didn't realize at this point was that the trim ring should have been installed before putting on the front panel:
This image has been resized. Click this bar to view the full image.
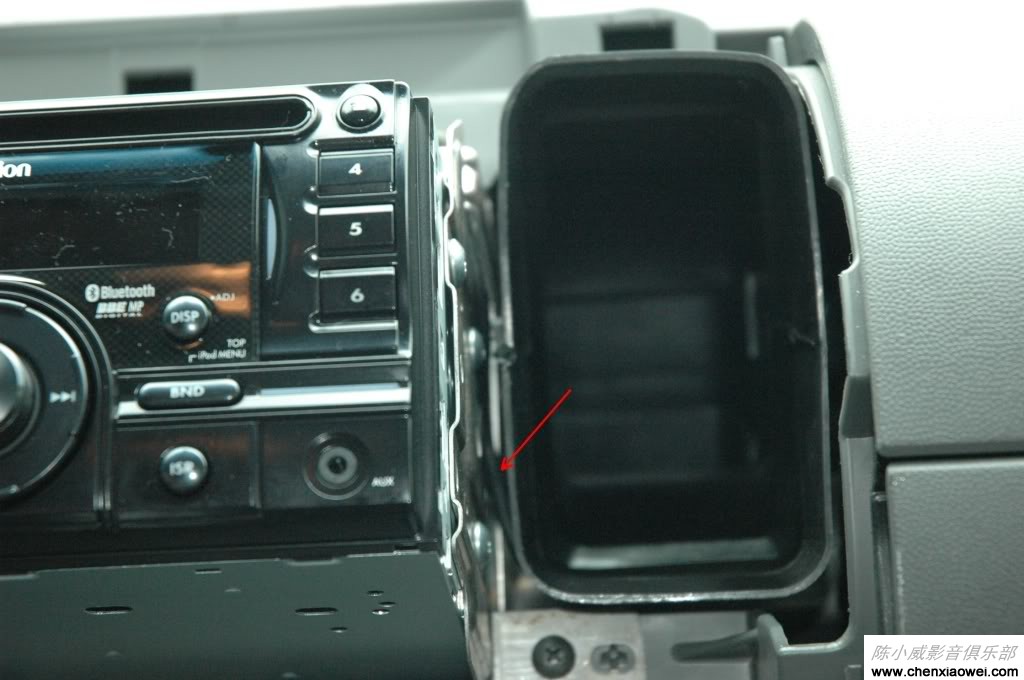
Back apart. You can more easily see three of the four screws holding it:
This image has been resized. Click this bar to view the full image.
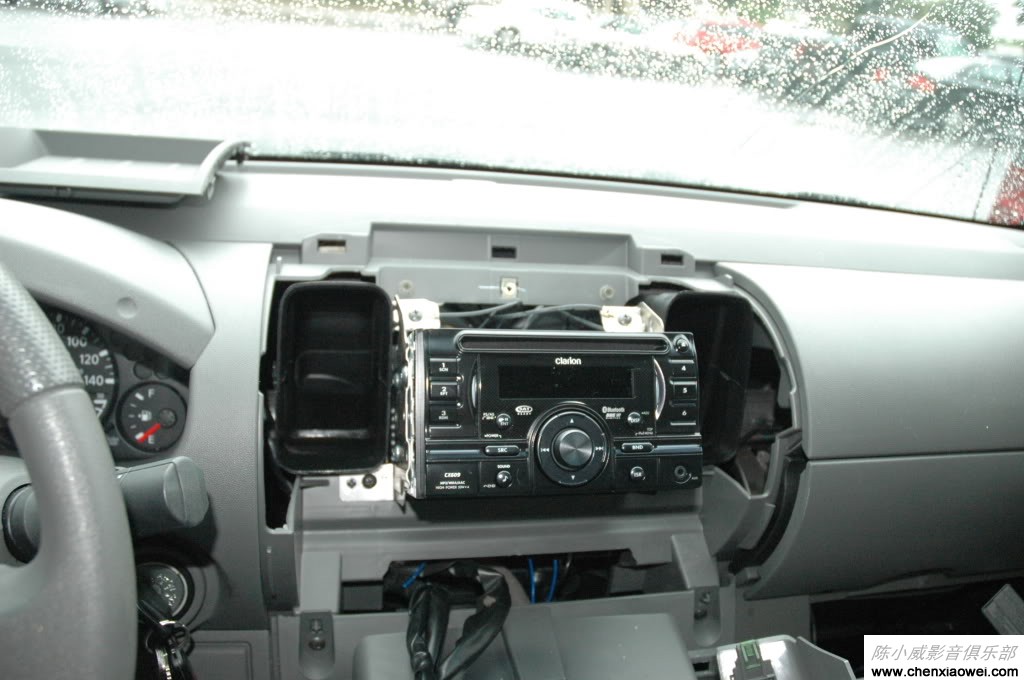
I found out that the USB cable was caught between the stereo and the bracket. It wasn't pinched, just caught. I moved the cable so that it ran over the bracket, beside the vent, under the vent and over to the glove box:
This image has been resized. Click this bar to view the full image.
This image has been resized. Click this bar to view the full image.
Trim ring attached:
This image has been resized. Click this bar to view the full image.
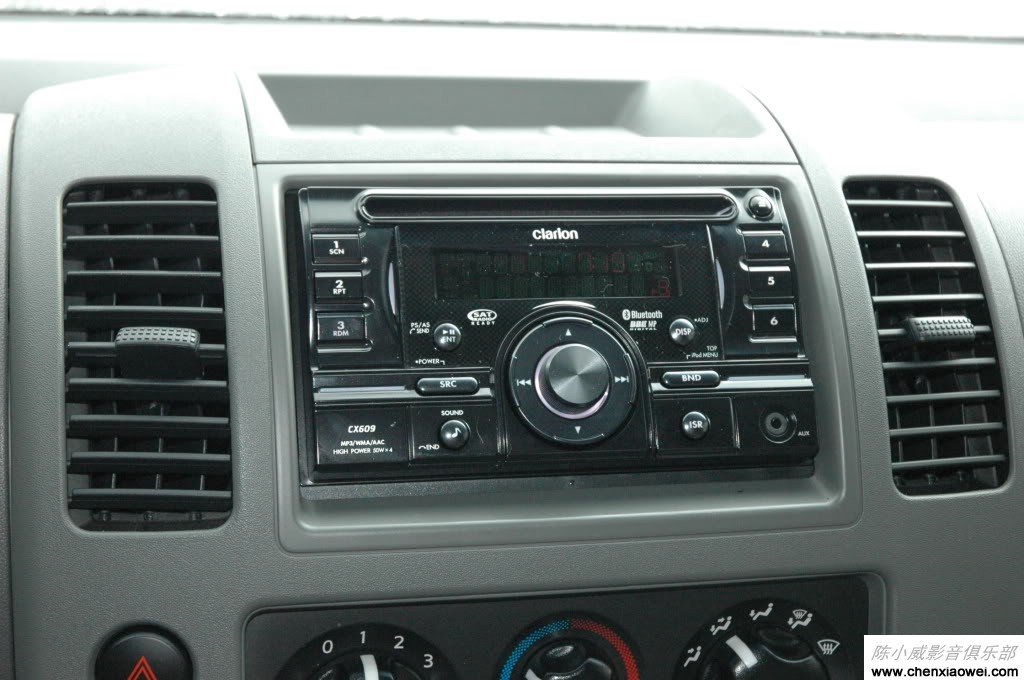
Completed install:
This image has been resized. Click this bar to view the full image.
更多详情请浏览:http://www.chenxiaowei.com/products/audio/sourceunits/2-din/cx609a.html
CX609A视频:http://www.chenxiaowei.com/video/CX609A.html


