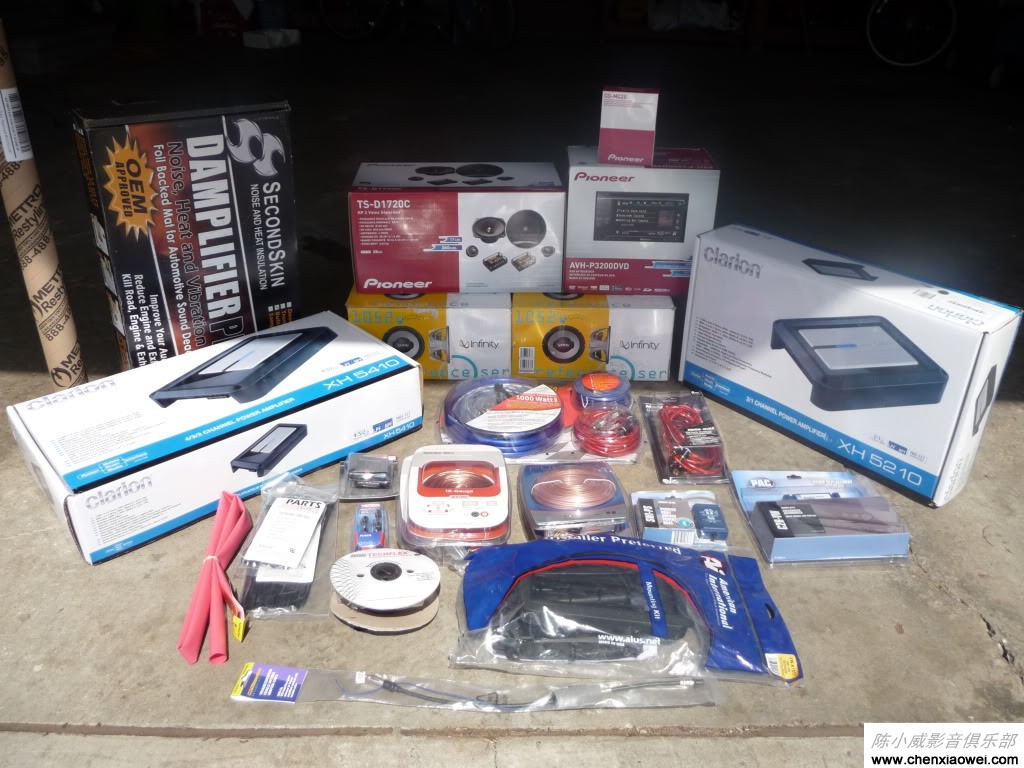
前后都用了歌乐顶级功放,新款歌乐功放XH5410四路功放和XH7110单路低音功放配合完美!
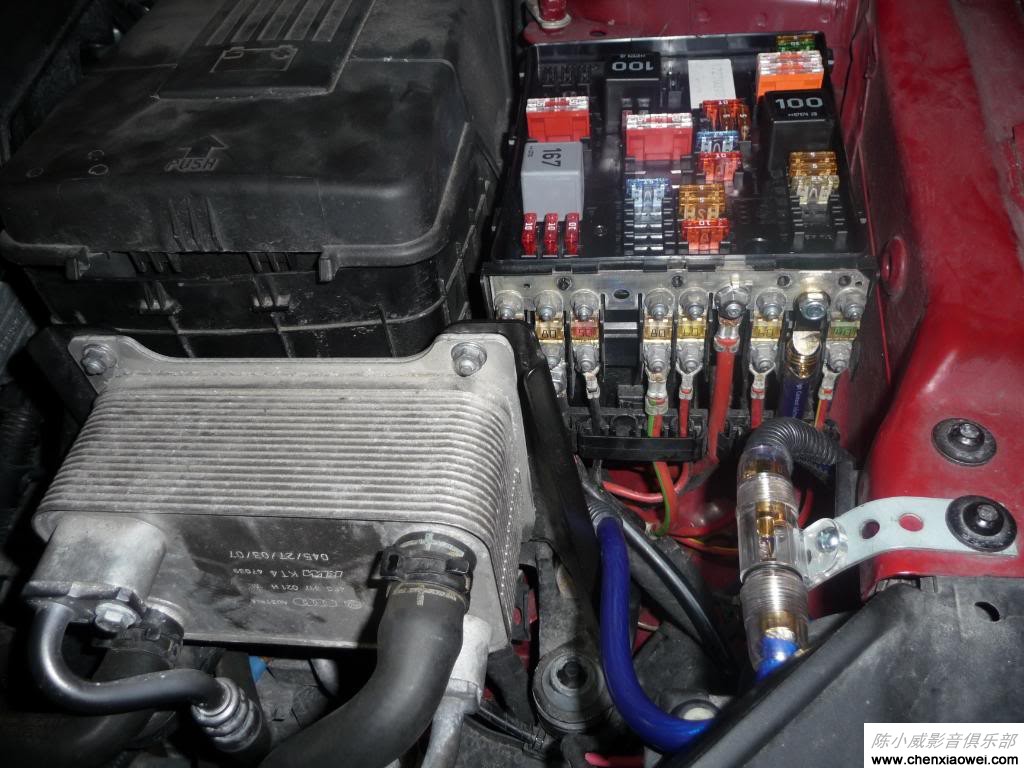
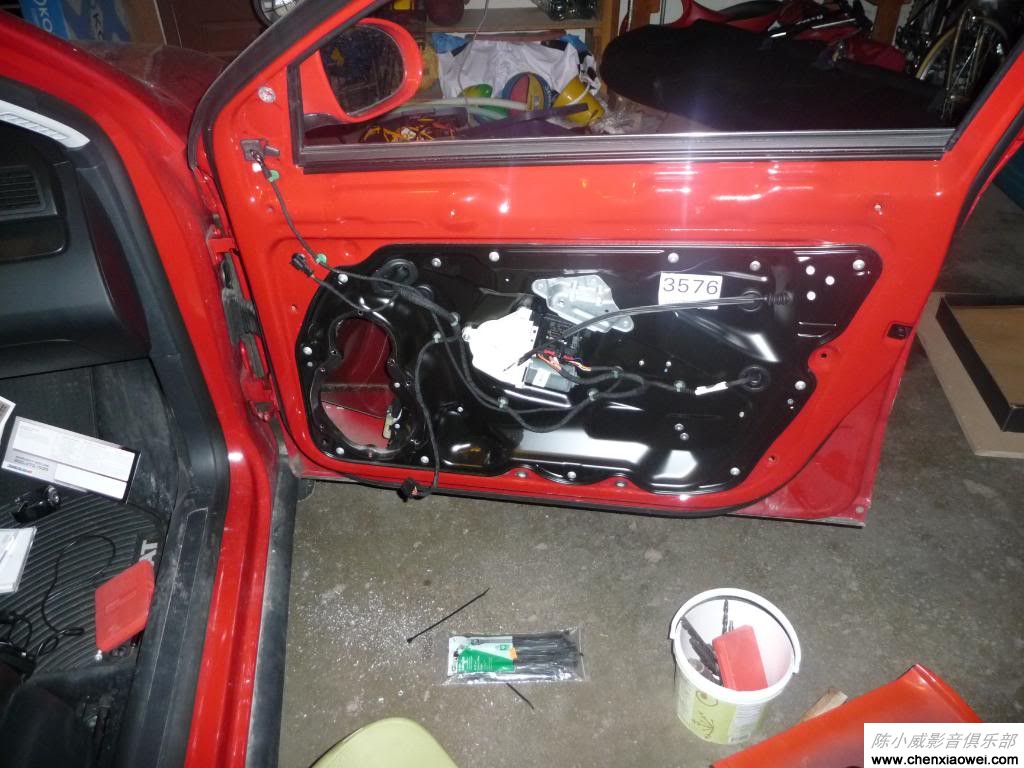
Here is the door with the trim panel removed and the OEM speakers literally drilled out. If you never done a VW...they rivet in the speaker pods:

This image has been resized. Click this bar to view the full image. The original image is sized 1024x768 and weights 114KB.
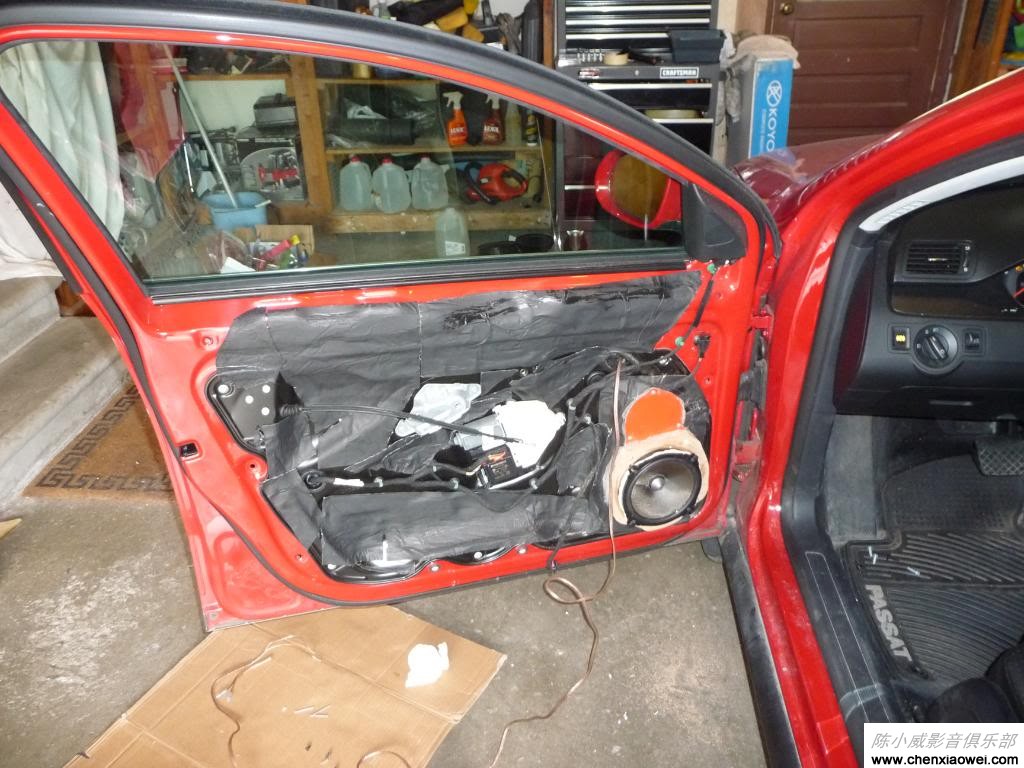
Next, here is the door with some Second Skin deadening and pioneer midwoofer mounted on a MDF baffle. I used a red piece of metal over the cutout above the woofer so that the door panel would clear.

This image has been resized. Click this bar to view the full image. The original image is sized 1024x768 and weights 132KB.
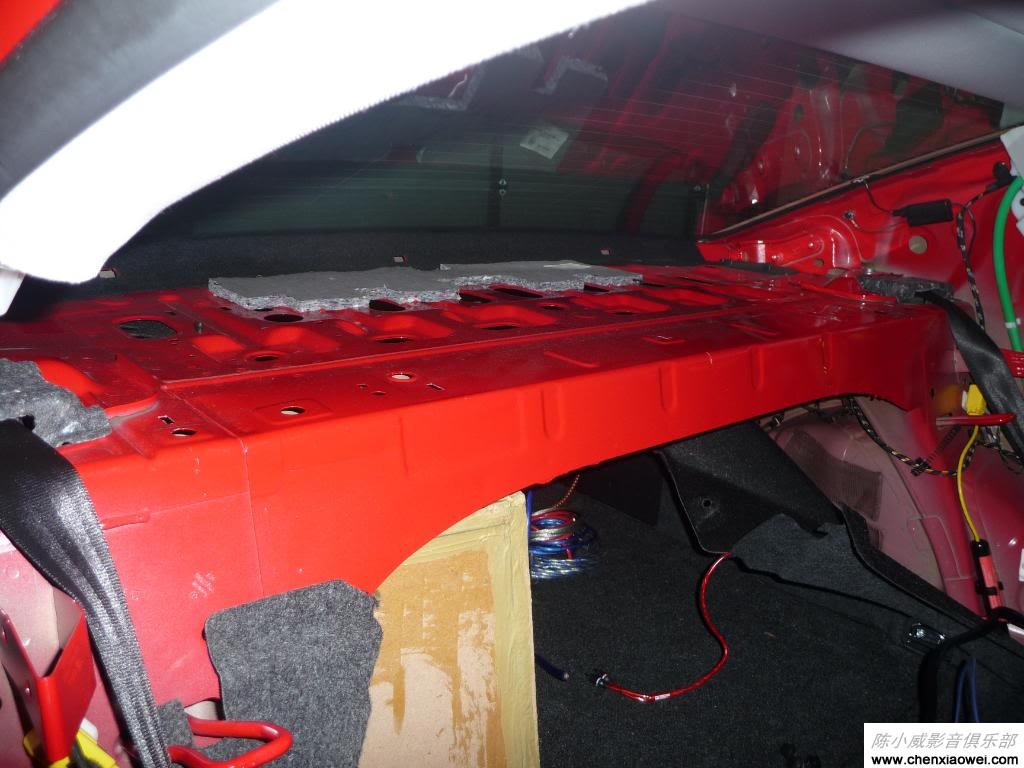
We decided to mount the amps under the read deck so.......Here is the rear deck removed. The fit and finish of the Passat was very nice. The panels fit tight and overlap very well.

This image has been resized. Click this bar to view the full image. The original image is sized 1024x768 and weights 94KB.
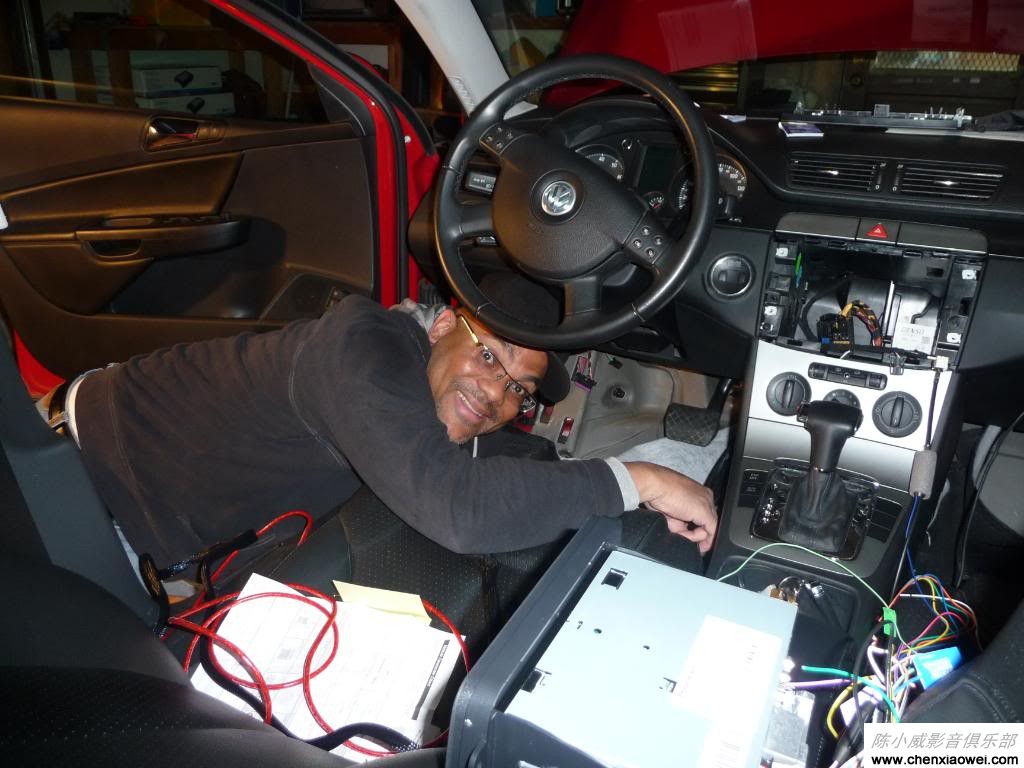
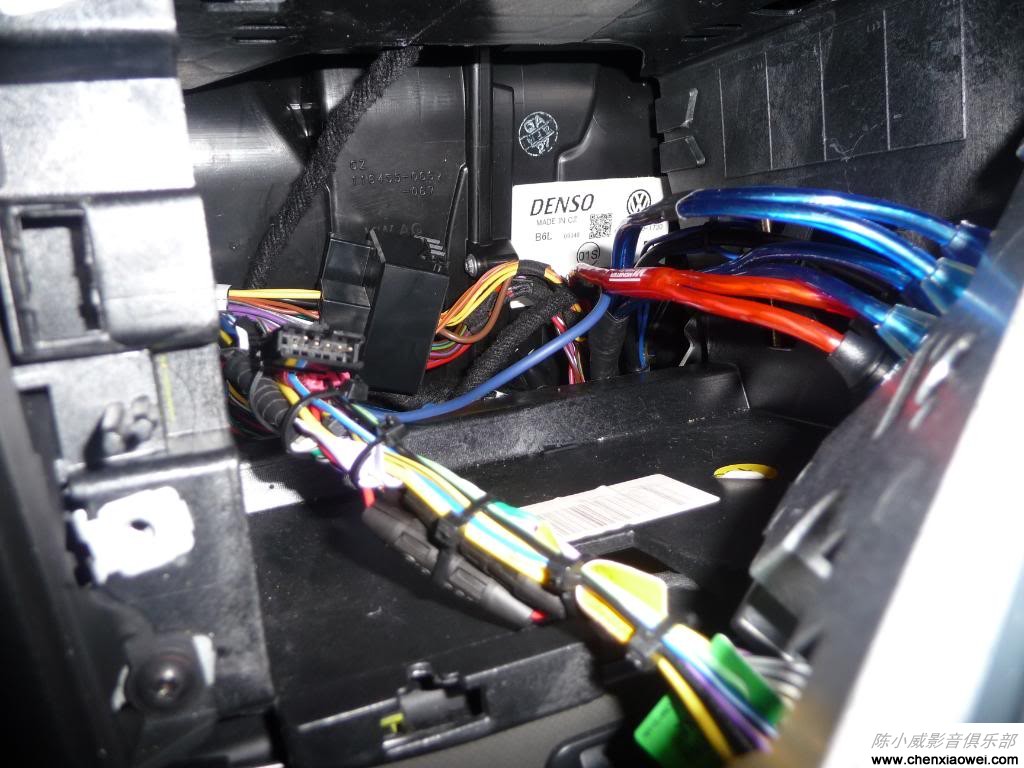
OK, moving along.....Here is the wire harness behind the pioneer deck. You don't see the PAC Audio interfaces as I stuffed them further down. What sucks about them is there are three boxes that wire together to make one LARGE harness. I actually did not realize that I needed the SWI-CAN interface as well as the SWI-PS interface for the Pioneer deck to make the steering wheel controls work. Also the C2R-VW wire harness/can adapter was used.

This image has been resized. Click this bar to view the full image. The original image is sized 1024x768 and weights 108KB.
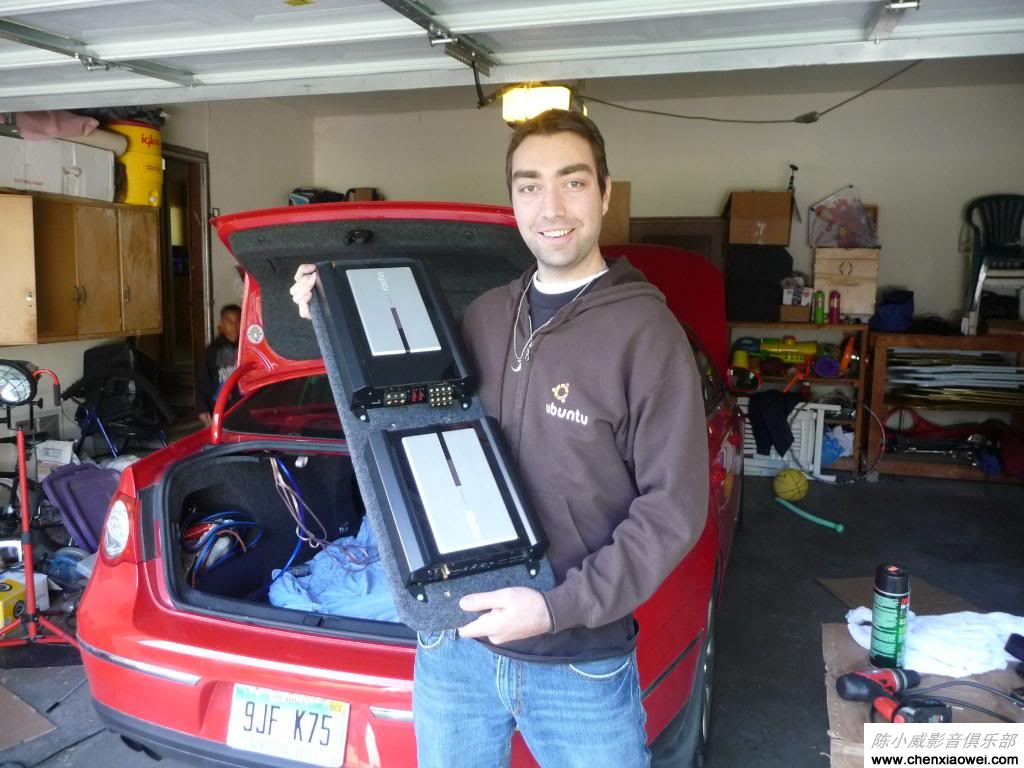
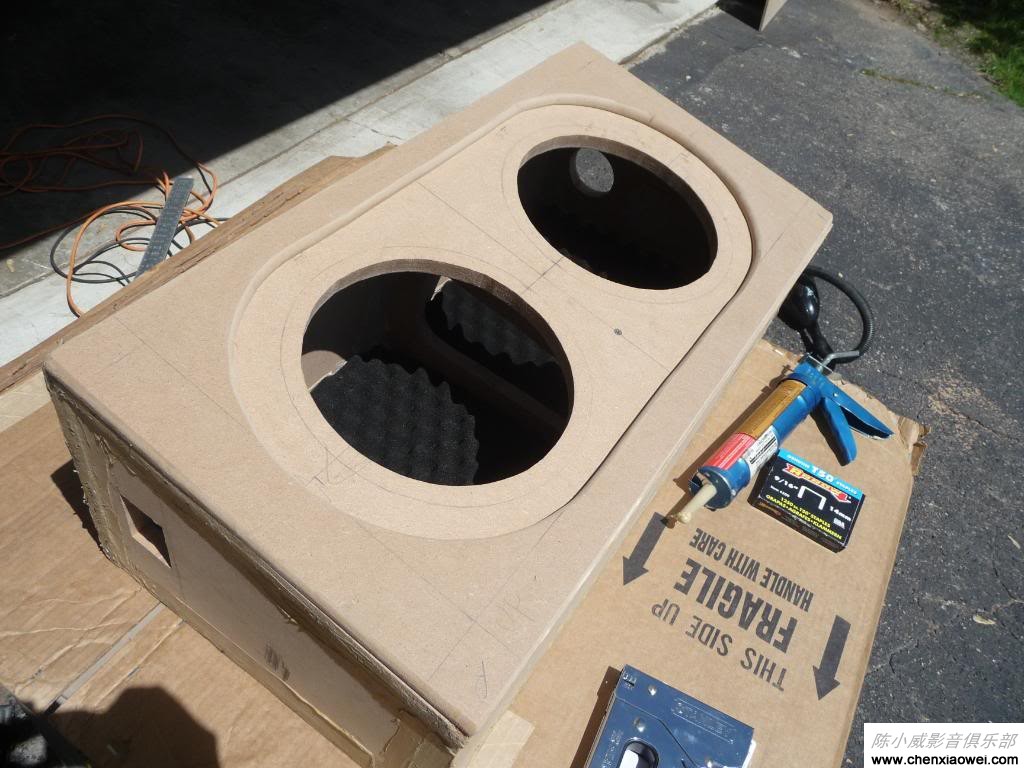
Next, here is the sub enclosure with the trim panel and black egg crate foam that I got from our service department at work. Many of our electronic PCB's come packaged with this stuff to protect them....I just had to use it for something as we throw away a lot of this stuff.

This image has been resized. Click this bar to view the full image. The original image is sized 1024x768 and weights 112KB.
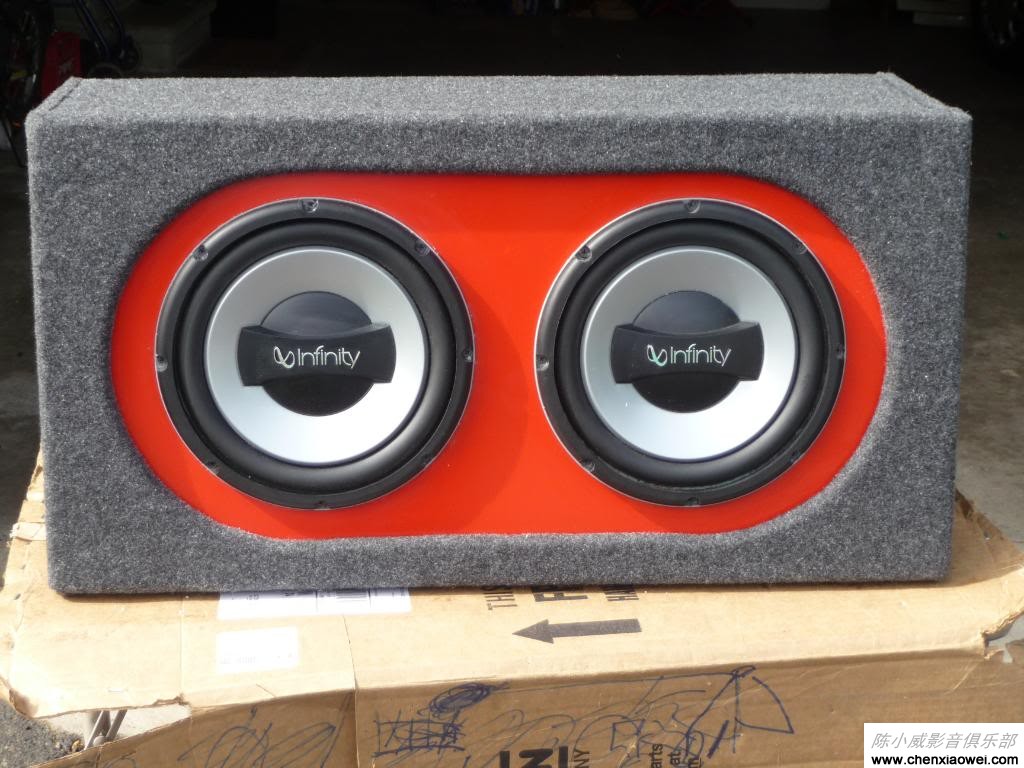
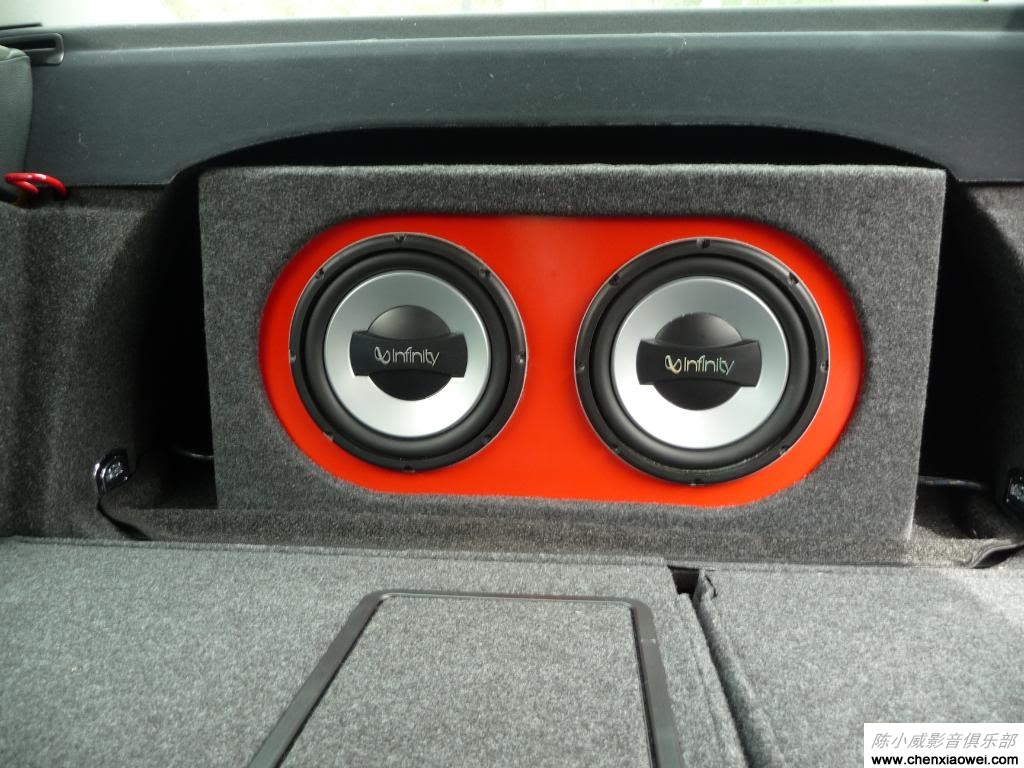
Here is the sub enclosure complete! I applied red vinyl over the face of the enclosure, attached carpet to the trim panel oval cutout with some glue and staples on the under side. I let the long length carpet drape down the sides as I used silicone and screws to mount it to the box. Next I glued down the carpet to the sides for a seamless look.

This image has been resized. Click this bar to view the full image. The original image is sized 1024x768 and weights 114KB.
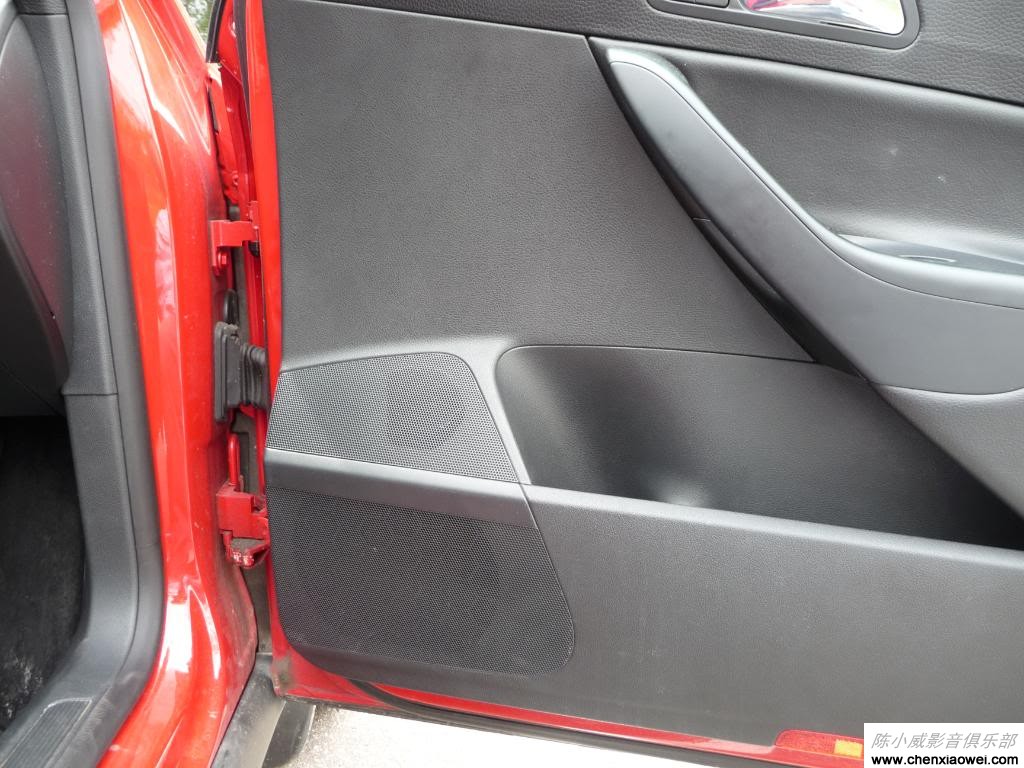
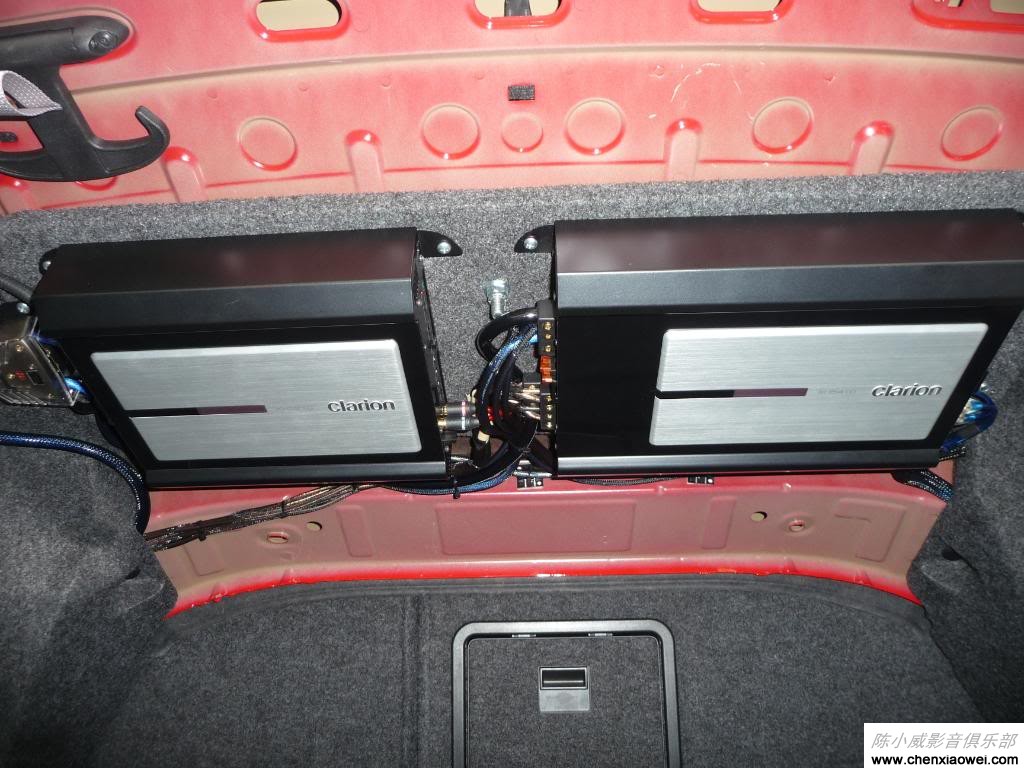
Here is the view from a standing position looking in....a pretty stealth and space saving idea. Tim' s said he wanted to see just a cool blue glow back there at night.....you got it!

This image has been resized. Click this bar to view the full image. The original image is sized 1024x768 and weights 109KB.
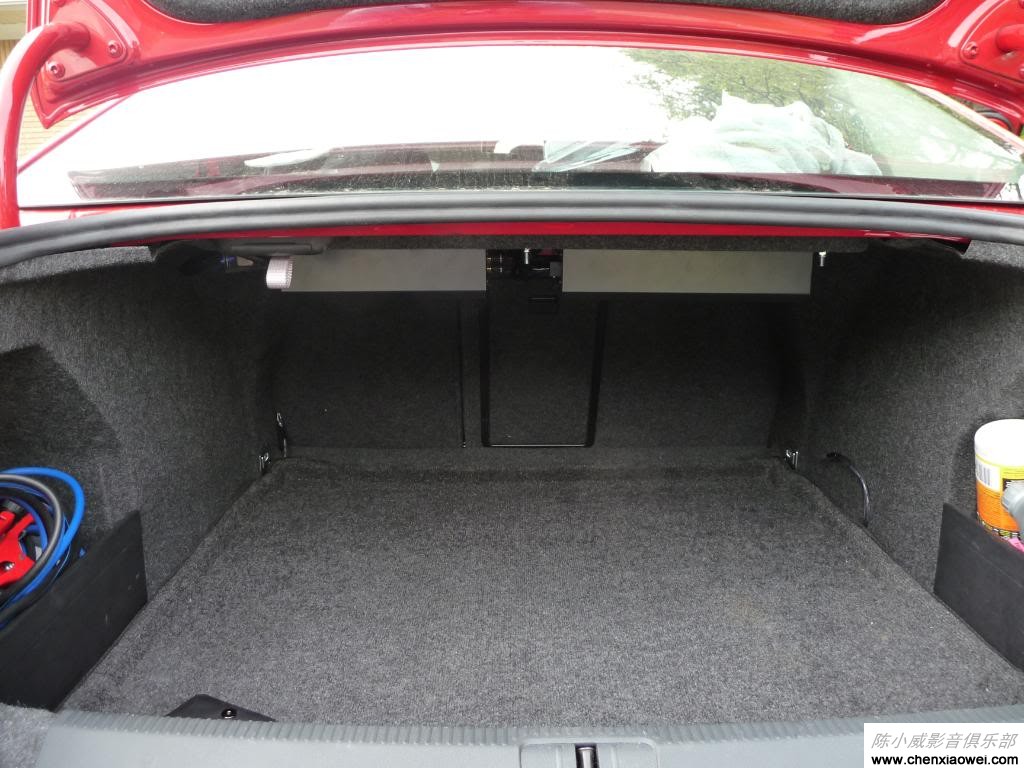
We got the sub enclosure in and wired up...here is a rear shot:

This image has been resized. Click this bar to view the full image. The original image is sized 1024x768 and weights 116KB.
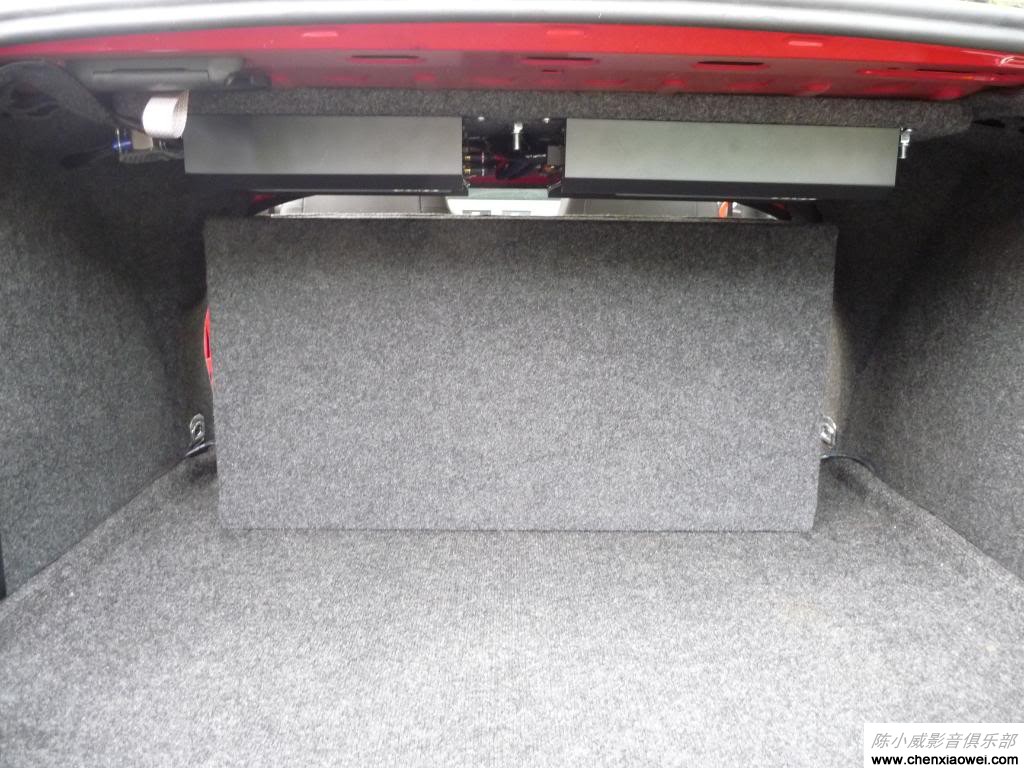
Here is a front shot of the subs....hard to see from the pic but the box is a wedge shape and fits well behind the seats:

This image has been resized. Click this bar to view the full image. The original image is sized 1024x768 and weights 114KB.
歌乐顶级四路功放XH5410参数和照片:http://www.chenxiaowei.com/products/audio/amplifiers/XH5410.html
歌乐顶级单路功放XH7110参数和资料:http://www.chenxiaowei.com/products/audio/amplifiers/XH7110.html


